Our physical maps include a hillshading / relief raster layer. Raster artwork is pixellated and can be edited in Photoshop like a photograph. (The labels, roads and other elements will be vector art and best edited in Illustrator.)
There are many tools to edit colours in Photoshop. Below we describe how to create a clipping mask and very quickly change the colour of the entire hillshading / relief layer in Photoshop. We are using one of the files supplied in our Britain and Ireland physical map package.
1. Open the raster file in Photoshop
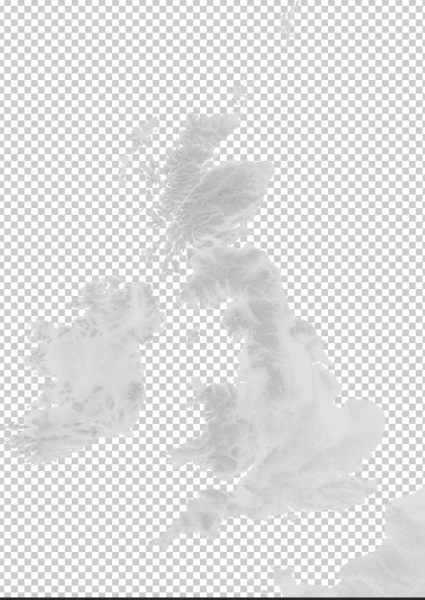
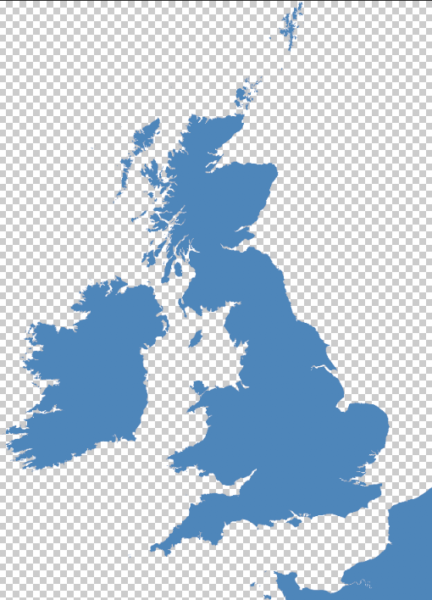
The raster relief file might be a native Photoshop (psd) file, png, jpeg, tif or eps. In this example we are opening the Britain and Ireland silver relief psd file. The transparent sea shows as a grid behind the land relief artwork.
2. Create a colour fill layer
In the Layers panel, click on the create new fill or adjustment layer, which is a half-shaded circle icon at the bottom of the panel. In the drop-down, select Solid Colour…
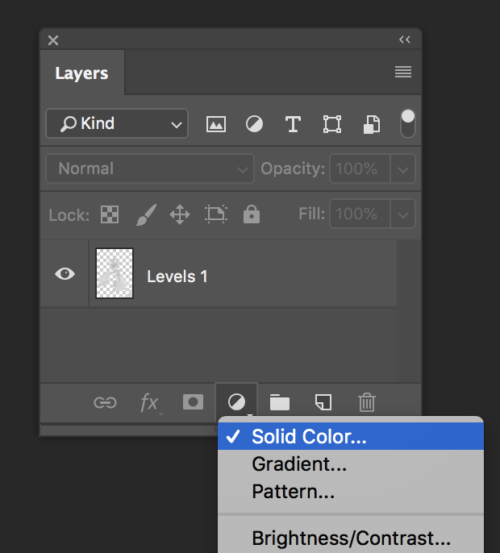
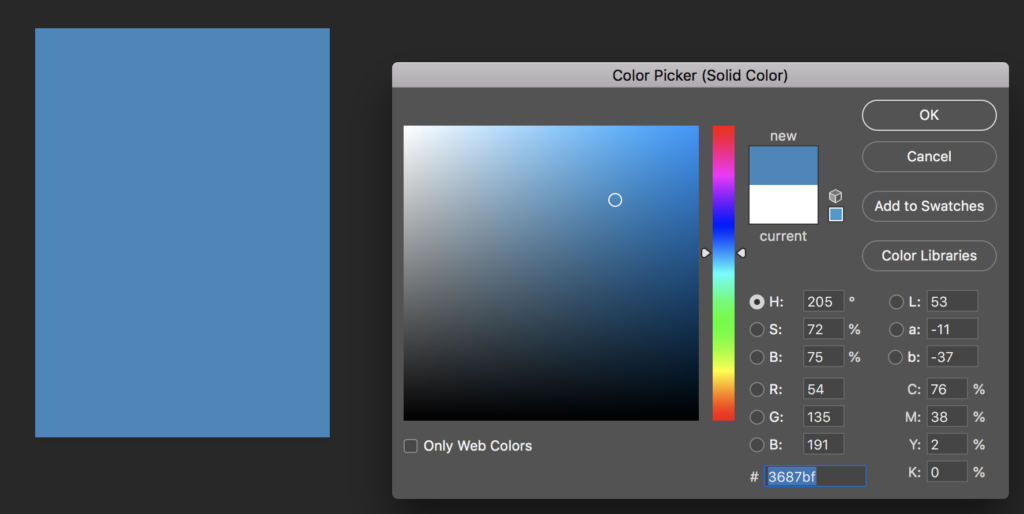
This will add a solid layer over the top of the relief layer and also open a Colour Picker. Select a colour, any colour. You can come back and edit this colour later, so don’t agonise over it (yet). Here we are selecting a nice blue.
3. Create a clipping mask on the colour fill layer
In the layers panel click anywhere on the new colour fill layer to make it the active layer. Now click on the panel options – the three bars in the top right of the Layers panel, and scroll down to Create Clipping Mask. Alternatively use the keystroke alt-cmd-G (on a Mac).
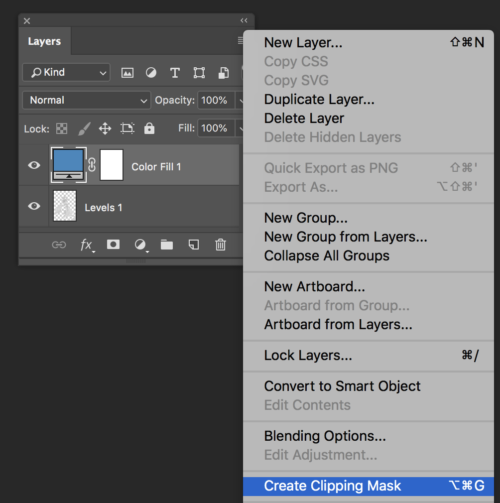
Like magic, the colour fill layer will crop itself into the shape of the landmass layer below it.
The colour is flat at this point. You may think you have lost the relief, but don’t panic, you are about to get it back!
4. Change the blending mode for the layer
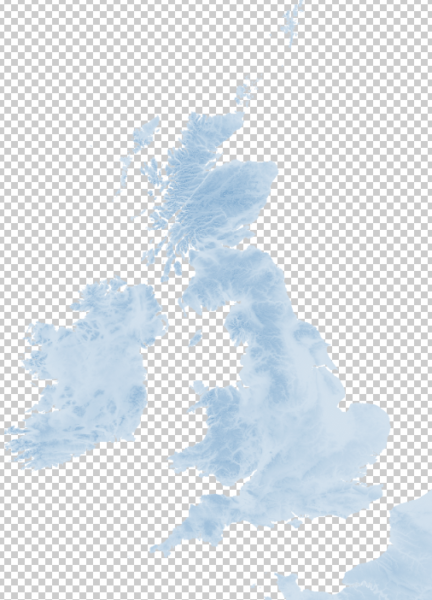
In the Layers panel, click on the Blending mode for layer. It is probably labelled Normal, but there are many other options in the drop-down. For recolouring a relief layer, we recommend Overlay, Soft Light or possibly Multiply if you are using a light colour. In this example we are selecting Overlay blending mode.
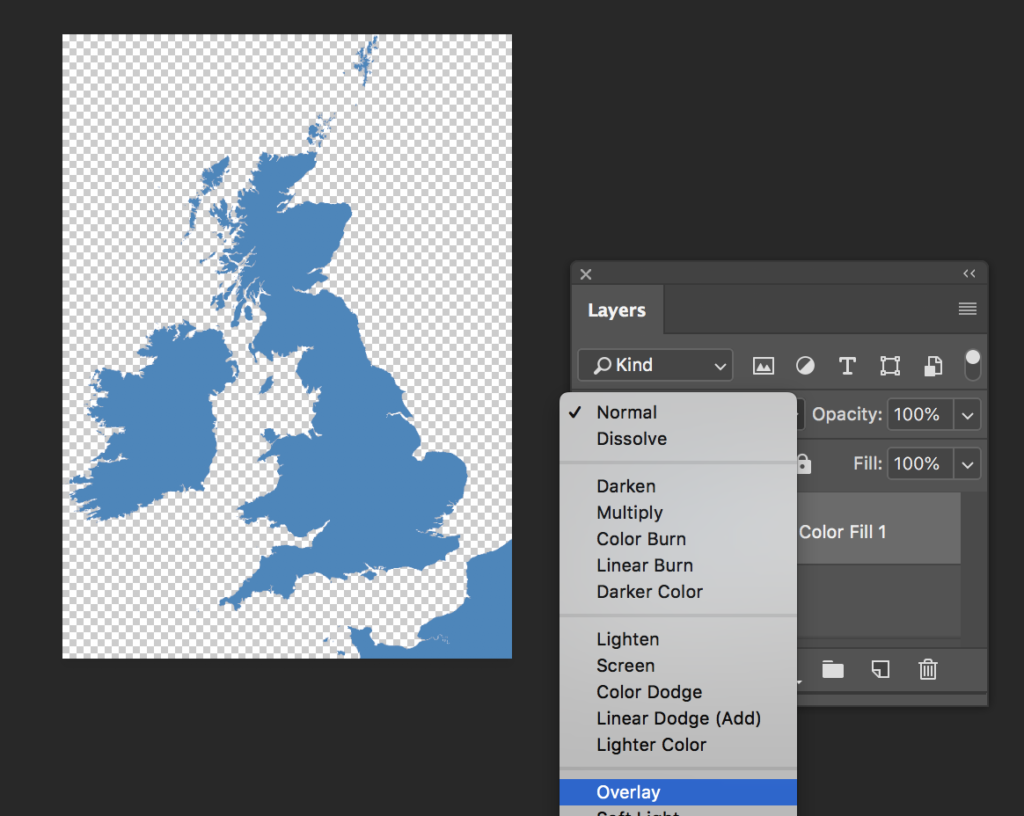
This results in the blue fill layer blending with the relief layer to create a light blue relief.
At this point you could save the file and try it in the Illustrator file with the other map elements. If you are using a Photoshop file directly linked to the Illustrator master file then it will automatically update itself with a prompt in Illustrator.
In this demo, we decide that we want the blue to be a bit darker. So in the Photoshop layers panel we double-click on the blue layer thumbnail to bring up the Colour Picker again. We select a darker shade of blue which immediately applies itself to the relief layer.
Then just to have some fun, we try selecting other colours, gold and salmon pink, and quickly output a variety of versions.

5. Try an inverted colour
So far we have used the relief as light for valleys and low-lying areas, and dark gradients for hilly areas. But we can quickly invert to dark for low and light for hilly.
In the Adjustments panel, either select the Invert icon or click on the panel options drop-down and select Invert.
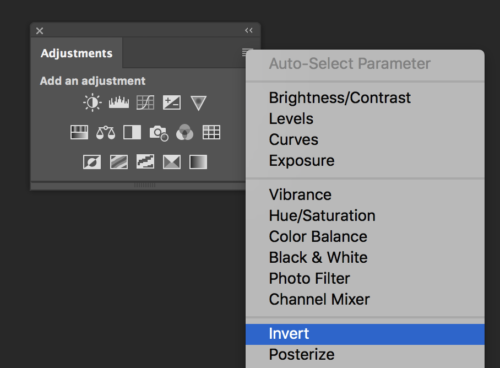
This will add an Invert Adjustment layer above the colour fill. Everything will be inverted including the colour itself – the blue turning brown in this case.
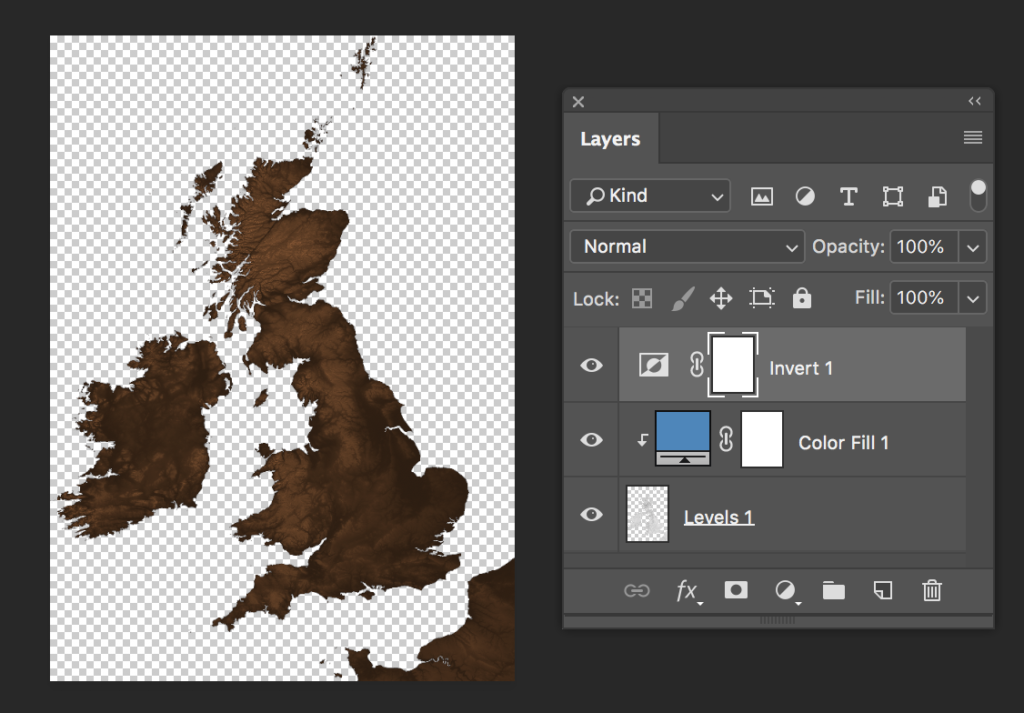
You can then go back to the Colour Fill, double-click on the colour thumbnail to bring up the Colour Picker and experiment with the inverted colour. The relief layer will update in real time to show you how the inverted colour looks. In this case we finally settle on a brick red that inverts to a stunning dark turquoise blue base with glowing highlights over the hills.

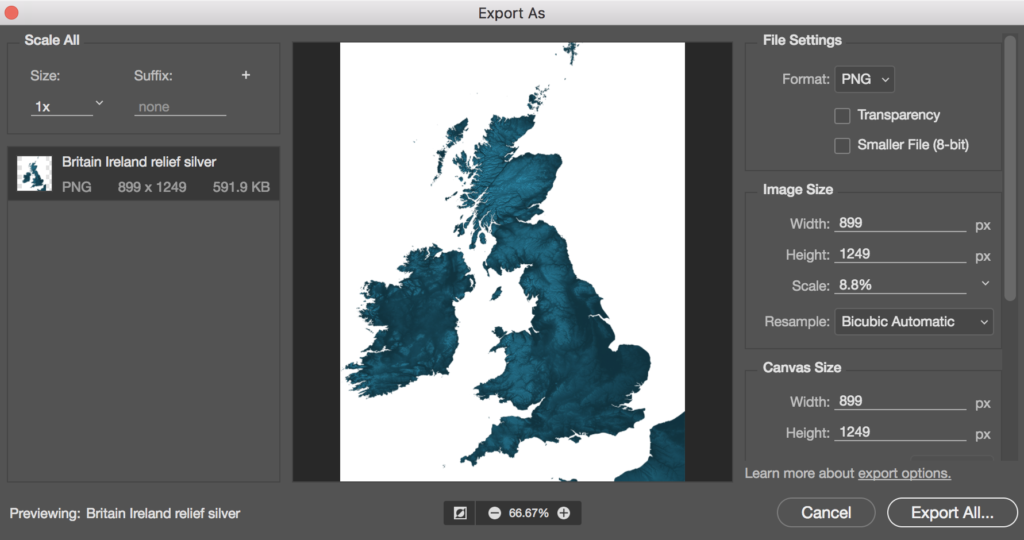
6. Save as a standalone image if you want
As mentioned above, you can use a linked Photoshop file directly in Illustrator, but if you want to output your relief layer as a standalone image, you can export it as a png or jpeg.
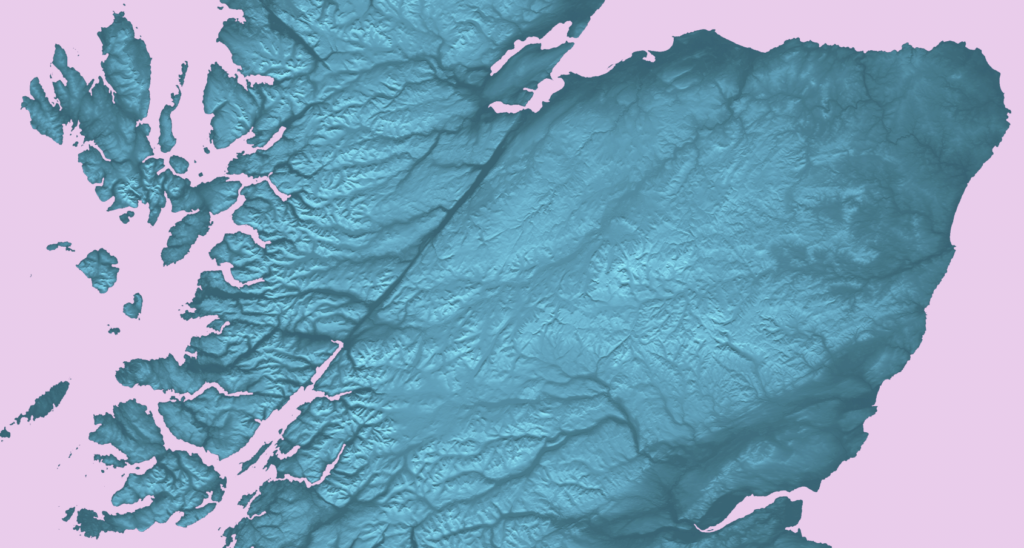
Here we have added a solid colour fill for the sea as the bottom layer, cropped and saved part of the Scottish Highlands as a png.
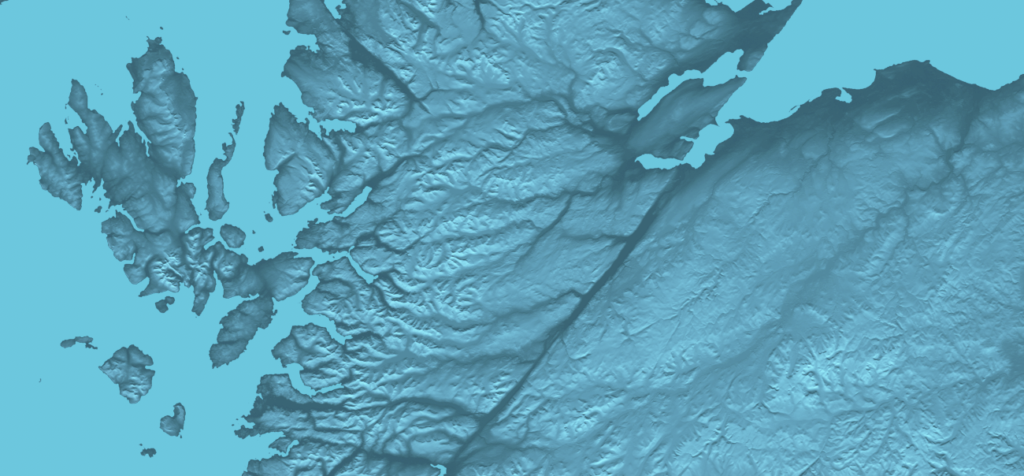
Just for the hell of it, we’ve decided to make the sea colour fill pink in this version. It only took a few seconds in Photoshop.